


Table of contents
- How to use Cypress for file upload?
- Using Cypress for file upload with the selectFile()
- Using Cypress for file upload with the cypress-file-upload plugin
- How to use Cypress for file download?
- Using Cypress for file download with the readFile()
- Using Cypress for file download using the cypress-downloadfile plugin
- Conclusion
- Frequently Asked Questions (FAQs)
On web applications, downloading and uploading files are operations we normally do, mainly for activities like banking, social media platforms, etc. In an online banking system, customers may need to upload documents such as income statements, bank statements, or identification proofs as part of a loan application process. Also, banking applications have features from which customers can download account statements.
Similarly, social media platforms enable us to share photos, videos with our friends and followers. We upload these files from our devices to the social media platform, where they are stored and made accessible to others who can then download and view them.
If a web application does not have an upload/download feature, it means that users won’t be able to transfer files directly between their devices and the application’s server through the application’s interface. It can result in potential business losses and impact user experience.
Automation of uploading and downloading functionality involves automating the process of testing file transfer capabilities in a web application. It aims to efficiently and accurately validate the uploading and downloading features through automated scripts.
Uploading files is typically done using a file input element on a web page, and the selected file is sent to the server as part of an HTTP request. In Cypress, you can automate file uploads by simulating user interaction with the file input element and attaching a file to it using the .attach() command.
Downloading files is typically done by sending an HTTP request to the server and receiving a file as part of the response. In Cypress, you can automate file downloads by intercepting the HTTP response and saving the file to a specified location on the user’s computer using the .writeFile() command.
Considering the criticality of these operations (i.e., using download/upload) in many businesses (e.g., banking, social media, eCommerce, etc.), it becomes imperative to test these functionalities as a part of the automated CI/CD pipeline.
By the end of this Cypress tutorial, you will learn how to use Cypress for file upload and download.
So, let’s get started!
Get ready for your Mocha interview with our expert-curated list of Mocha interview questions tips. Impress your potential employer and land your dream job!
How to use Cypress for file upload?
Uploading files is a common scenario in web applications that allow users to upload their files. In the uploading files process, we select the file from the local machine to a web application during a test. Using Cypress for file upload involves testing adding a file with the below-supported format.
Images: JPEG (.jpg, .jpeg), PNG (.png), GIF (.gif).
Documents: PDF (.pdf), Microsoft Word (.doc, .docx), Microsoft Excel (.xls, .xlsx).
Videos: MP4 (.mp4), WebM (.webm), AVI (.avi), MOV (.mov)) to a web application using the Cypress testing framework.
Boost your testing skills with Pytest interview questions. Beginner, intermediate, and advanced levels covered. Prepare and excel in your interviews.!
There are multiple ways to use Cypress for file upload. Here are some common approaches:
Using Cypress for file upload with the selectFile().
Using Cypress for file upload with the cypress-file-upload plugin.
Using Cypress for file upload with the selectFile()
There are various ways of uploading files using the selectFile() command.
Using selectFile()
Before explaining uploading files using selectFile(), let’s learn about the command selectFile().
The selectFile() command in Cypress enables you to upload a single file, an array of files and simulate the selection of files with additional options. In Cypress, the selectFile() command allows you to interact with file input elements (e.g., <input type=”file“>)
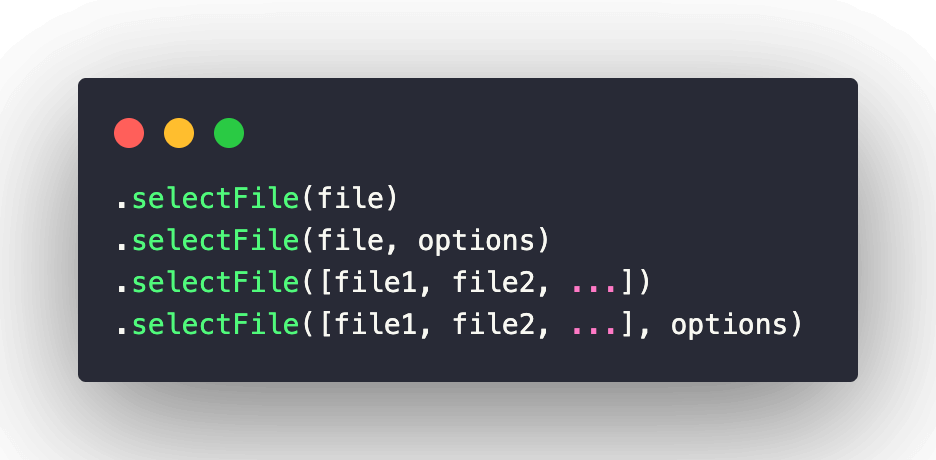
Syntax
The selectFile() method takes multiple arguments, as shown below:
In Cypress, the selectFile() command can be used to imitate dragging a file or files into the browser, as well as selecting and uploading files to an HTML5 input element.
When you invoke the selectFile() command in Cypress for file upload, it opens a file selection dialog in the browser. You can then provide file paths or an array of file paths to the command to simulate the selection of files.
The selectFile() command in Cypress for file upload supports various file types for imitating file selection or upload actions in a browser or HTML5 input element. It can handle common file types such as:
Text files (e.g., .txt, .csv)
Image files (e.g., .jpg, .png, .gif)
Document files (e.g., .doc, .docx, .pdf)
Audio files (e.g., .mp3, .wav)
Video files (e.g., .mp4, .avi)
If you are getting started with Cypress and want to install Cypress, you can go through this blog that covers installing Cypress in detail. You can consider installing the latest version. However, the version at the time of writing this blog is 12.11.0.
The cy.selectFile(file) command lets you specify a file or files to be uploaded through an input element of type “file” on a web page.
| OPERATION | COMMAND |
| Upload JSON File | cy.get(‘input[type=file]’).selectFile(‘file.json’) |
| Upload txt File | cy.get(‘input[type=file]’).selectFile(‘file.txt’) |
| Upload image file (jpg, png) | "cy.get(‘input[type=file]’).selectFile(‘image1.jpg’) |
| cy.get(‘input[type=file]’).selectFile(‘image2.png’)" | |
| Upload video file | cy.get(‘input[type=file]’).selectFile(video.mp4′) |
| Upload audio file | cy.get(‘input[type=file]’).selectFile(audio.mp3′) |
Ace your QA interviews with our comprehensive guide on 60+ SpecFlow Interview Questions and Answers. Boost your BDD knowledge and showcase your SpecFlow expertise.
Options
The options parameter is an optional object that allows you to customize the behavior of the cy.selectFile(). In options, you can pass the following parameters.
PARAMETER
| action | select | Switch modes. Valid values are select and drag-drop. |
| force | FALSE | Forces the action, disables waiting for actionability. |
| log | TRUE | Displays the command in the Command log. |
| timeout | defaultCommandTimeout | Time to wait for .selectFile() to resolve before timing out. |
| waitForAnimations | waitForAnimations | Whether to wait for elements to finish animating before executing the command. |
Demo — Using Cypress for file upload using the selectFile()
Test Scenario
Visit the site: https://the-internet.herokuapp.com/upload.
Upload the .png file.
Click on the Submit button.
After submitting, verify the “File Uploaded” message.
In this example, we are uploading the image file using selectFile() with select mode. This command is used to select a file to upload to an input field. The command first selects the file input element using the cy.get() method with the input[type=file] selector.
Then, the selectFile() method is called on the selected element with the argument ‘image.png’. This will simulate selecting the file image.png in the file selection dialog that appears when a user clicks on the file input field.
Implementation
For demo purposes, I am taking the example from the site: https://the-internet.herokuapp.com/upload
it("Upload the file using .selectFile with select mode", () => {
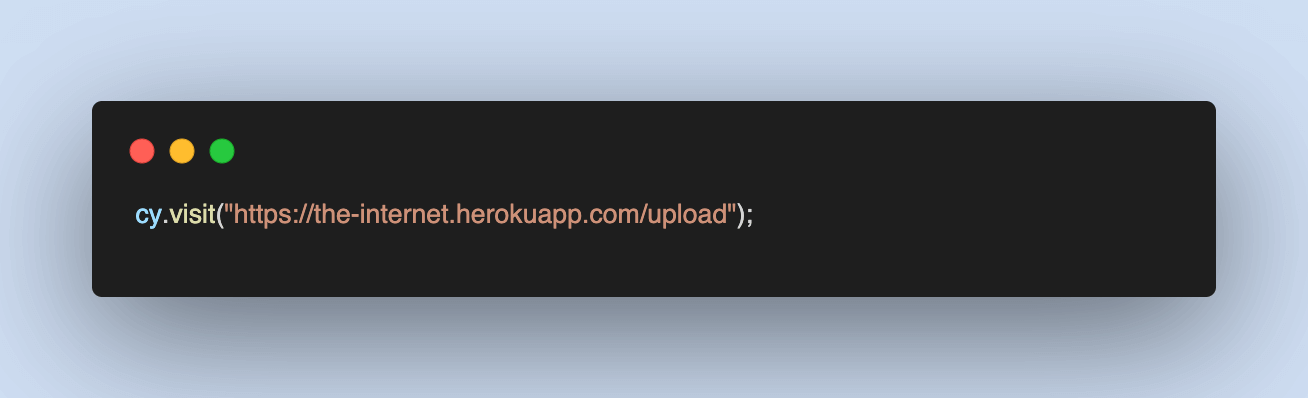
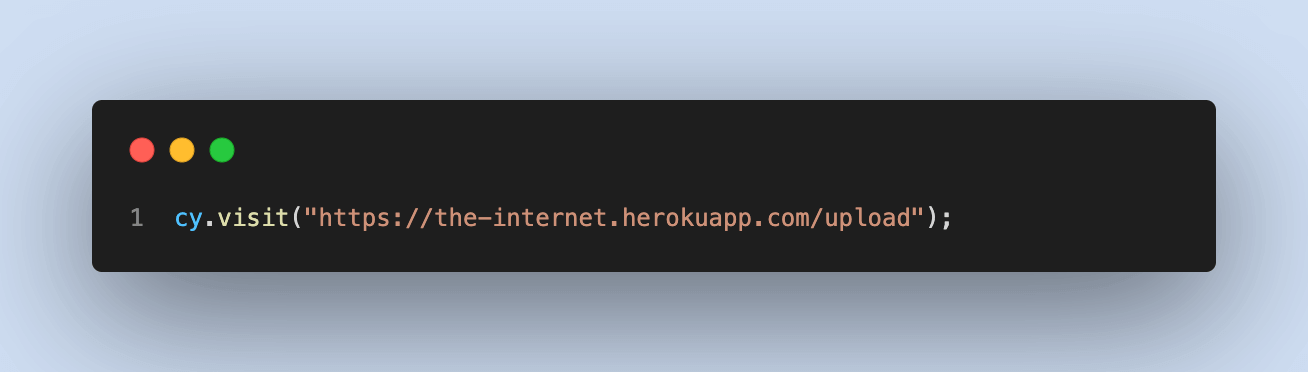
cy.visit("https://the-internet.herokuapp.com/upload");
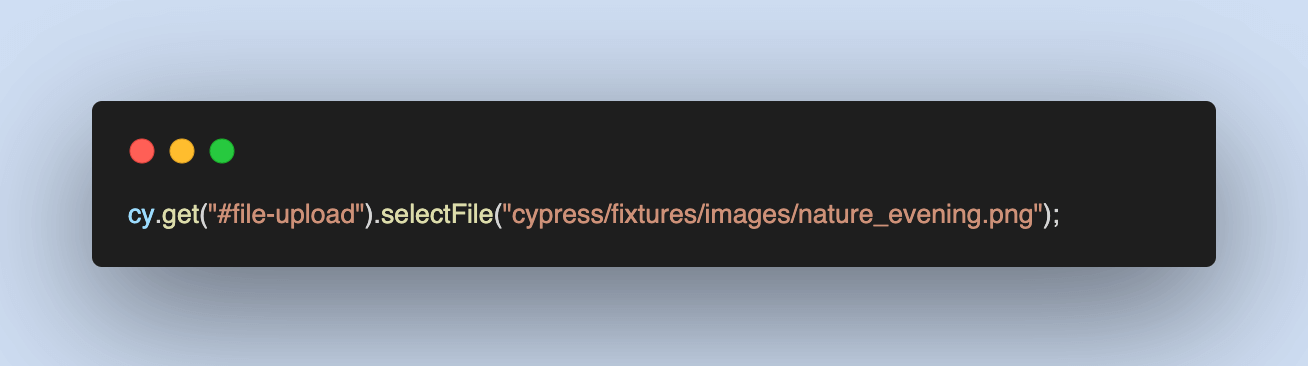
cy.get("#file-upload").selectFile("cypress/fixtures/images/nature_evening.png");
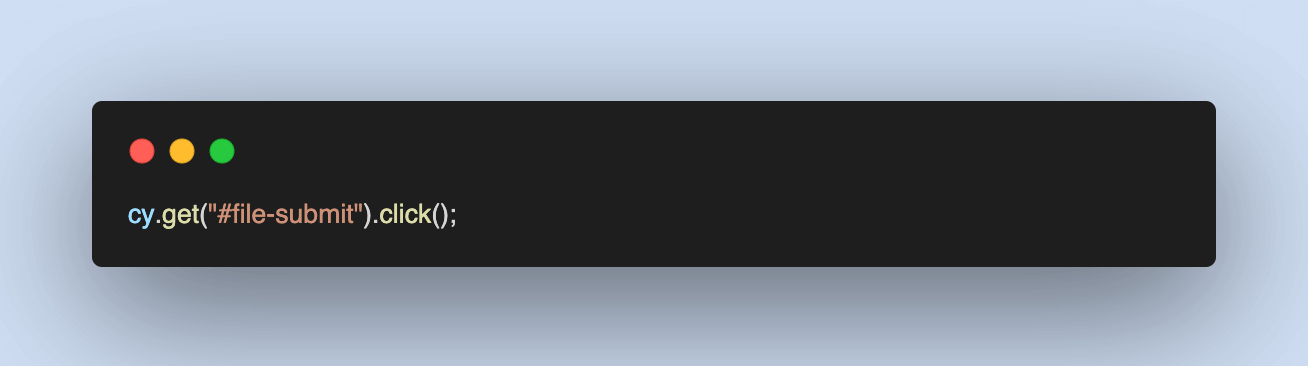
cy.get("#file-submit").click();
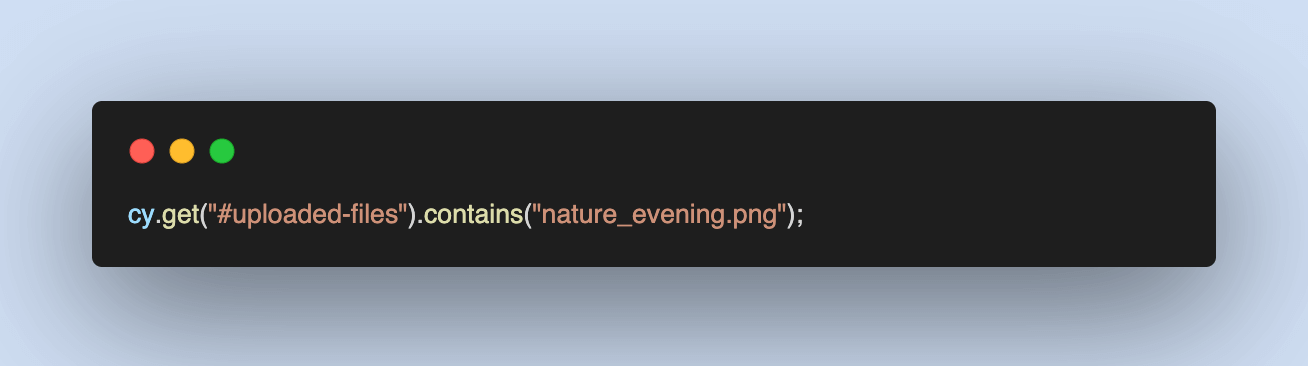
cy.get("#uploaded-files").contains("nature_evening.png");
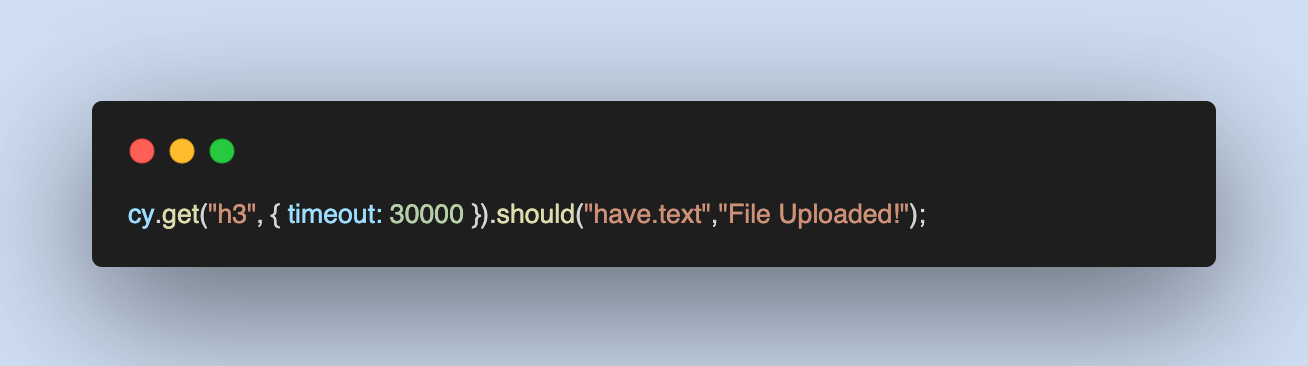
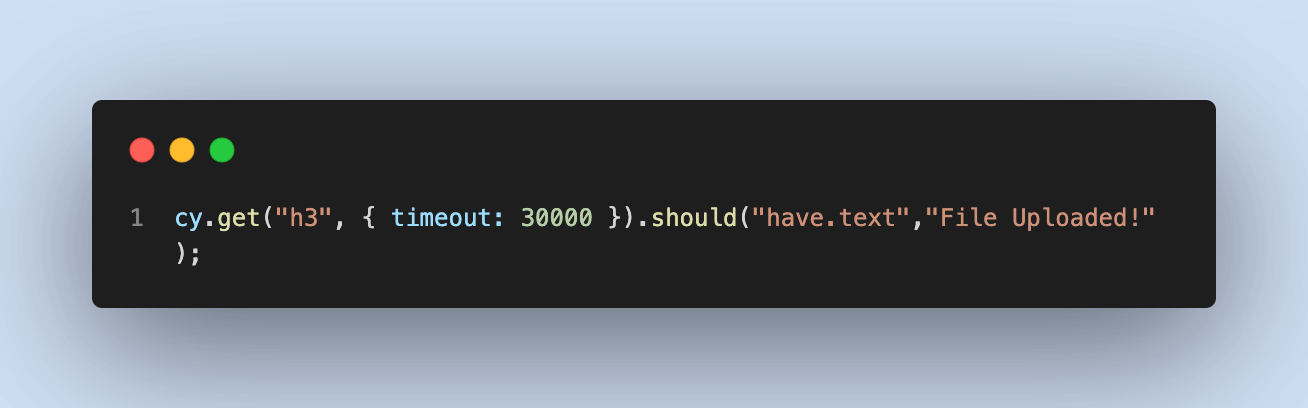
cy.get("h3", { timeout: 30000 }).should("have.text","File Uploaded!");
});
Ace your Cypress interview with these 60+ Cypress interview questions. Boost you confidence and land your dream job with this comprehensive guide.
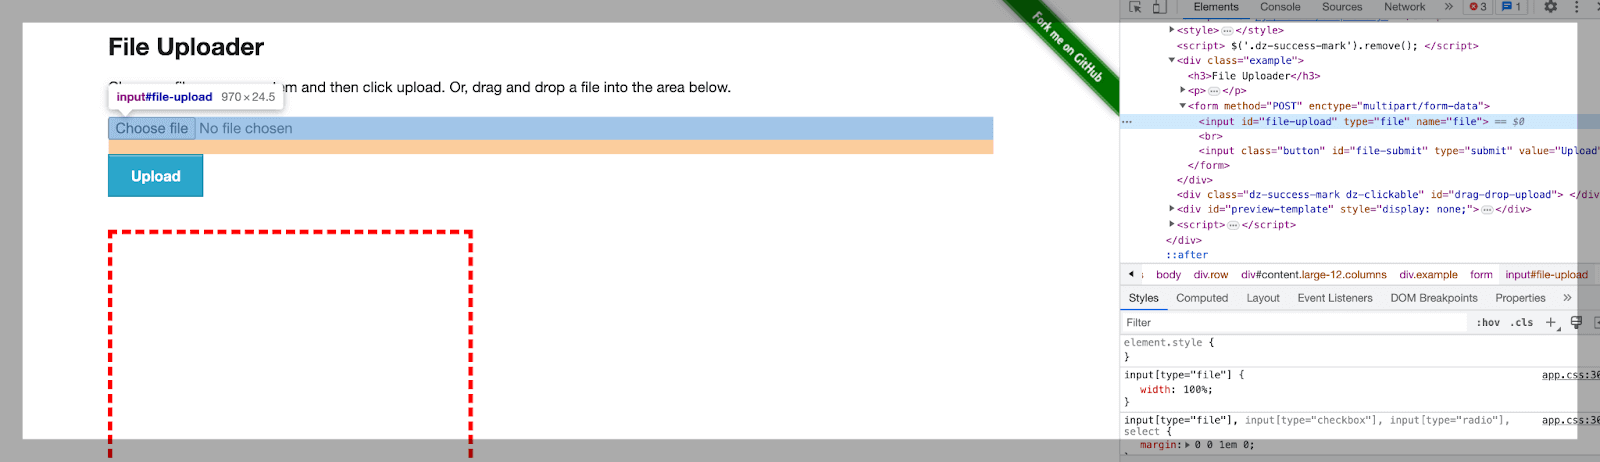
You can use the cy.get() command and pass in the Id of the element. For example, the following code would locate an element with the ID ‘file-upload.’
cy.get(“#file-upload”)
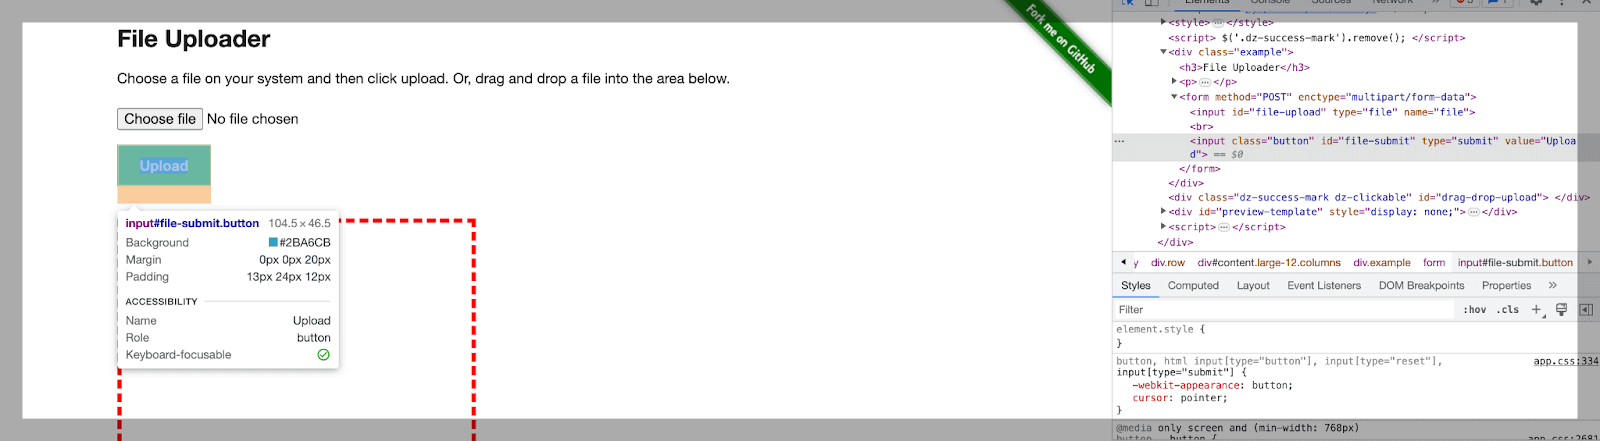
cy.get(“#file-submit”).
You can use the cy.get() command and pass in the Id of the element. For example, the following code would locate an element with the ID ‘file-submit’.
cy.get(“#uploaded-files”).
You can use the cy.get() command and pass in the Id of the element. For example, the following code would locate an element with the ID ‘uploaded-files’.

Code Walkthrough
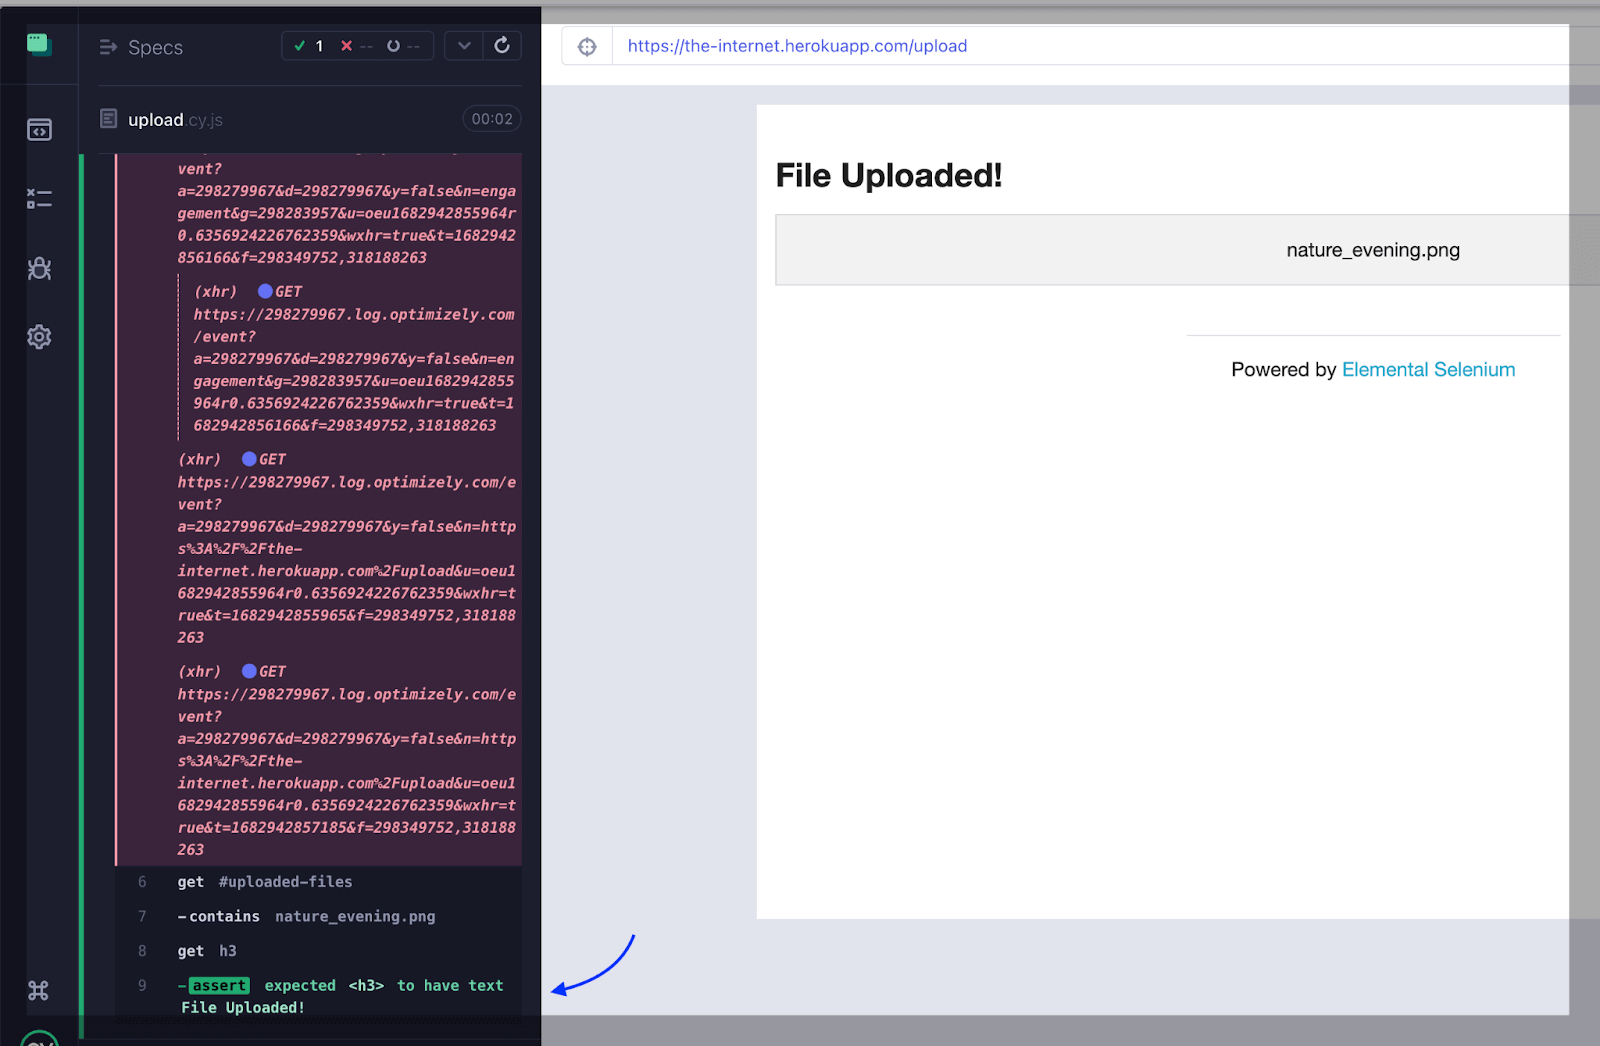
We have kept the .png file under the images folder. After uploading the image, click on the upload button and verify the message “File Uploaded!”.
Step 1
It navigates to the specified URL, which is the file upload page of a web application.
Step 2
It selects a file for upload. The code targets the file input element with the ID “file-upload” and uses the .selectFile() command to specify the file path to be uploaded (“cypress/fixtures/images/nature_evening.png”).
Here’s 295+ Selenium Interview Questions with Answers that will help you boost your confidence in an Interview.
Step 3
This line clicks on the “file-submit” button to initiate the file upload process.

Step 4
It verifies that the uploaded file is displayed on the page. The code targets the element with the ID “uploaded-files” and checks if it contains the text “nature_evening.png.”
Step 5
This line waits for an < h3 > element to appear on the page (with a maximum timeout of 30 seconds) and asserts that its text content is “File Uploaded!”. This assertion ensures that the file upload operation was successful.
Output
If you are preparing for a Playwright automation interview, this list of Playwright interview questions can help you get a list of the most asked questions with detailed answers.
Uploading files using the command selectFile() and options
This command is used to select a file to upload to an input field using a drag-and-drop action. The command first selects the file input element using the cy.get() method with the input[type=file] selector.
Then, the selectFile() method is called on the selected element with two arguments. The first argument is image.png’, which is the name of the file you want to upload. The second argument is an options object with the action property set to ‘drag-drop’. This will simulate dragging and dropping the file onto the input field rather than using the file selection dialog.
Demo — Uploading files using the selectFile() and options
In this tutorial on Cypress for file upload, let’s look at the demonstration for uploading files using the selectFile() and options.
Visit the site: https://the-internet.herokuapp.com/upload.
Upload the .png file.
Click on the Submit button.
After submitting, verify the “File Uploaded” message.
Implementation
For demo purposes, I am taking the example from the site: https://the-internet.herokuapp.com/upload.
In the below example, the location of uploading the file is from the local system.
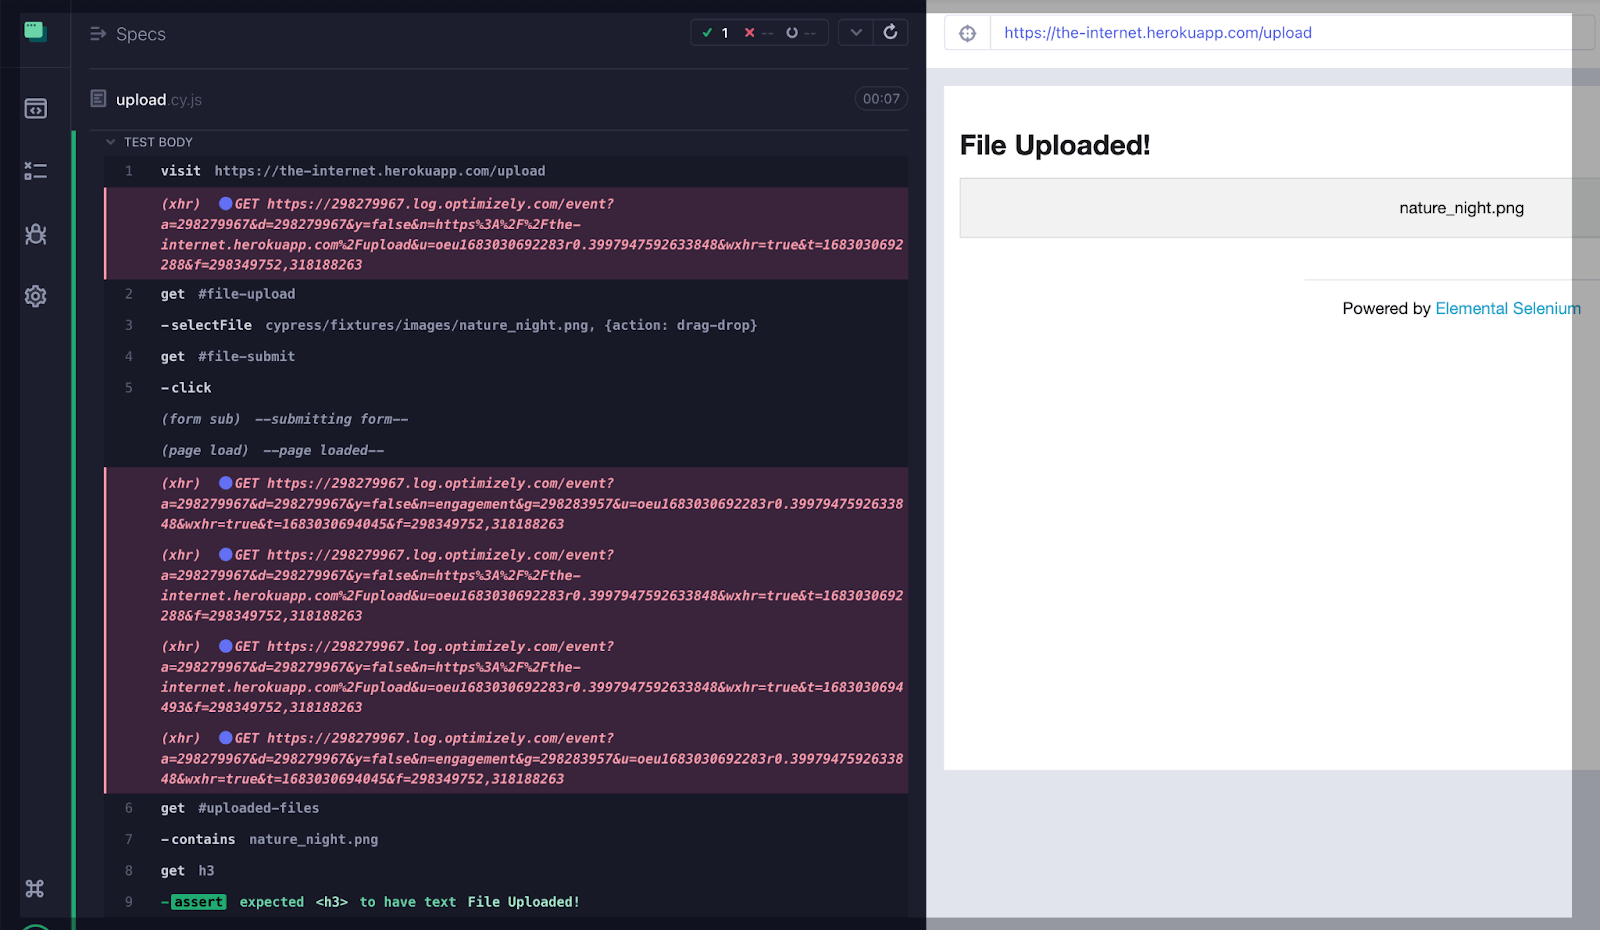
it("Upload the file using .selectFile with with drag and drop mode", () => {
cy.visit("https://the-internet.herokuapp.com/upload");
cy.get("#file-upload").selectFile("cypress/fixtures/images/nature_night.png", {action: "drag-drop"});
cy.get("#file-submit").click();
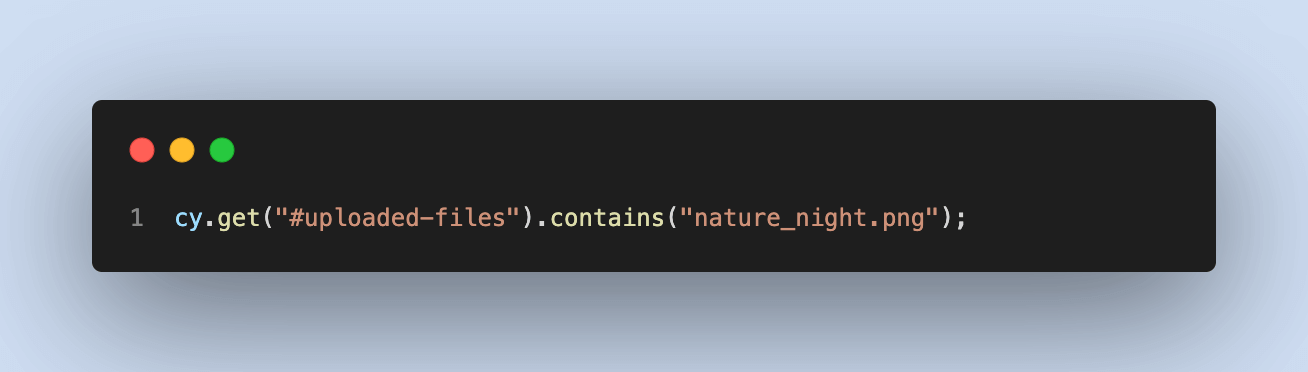
cy.get("#uploaded-files").contains("nature_night.png");
cy.get("h3", { timeout: 30000 }).should("have.text","File Uploaded!");
});
Code Walkthrough
Step 1
The cy.visit(“the-internet.herokuapp.com/upload”) command is used to navigate to the specified URL, which is the web application’s file upload page.
Here’s a list of 70 Cucumber Interview Questions and Answers that will help you boost your confidence in an Interview.
Step 2
It targets the file input element with the ID “file-upload” and uses the .selectFile() command to specify the file path to be uploaded (“cypress/fixtures/images/nature_night.png”).
Additionally, the {action: “drag-drop”} option indicates that the file should be selected using the drag-and-drop mode.
Step 3
Clicks on the “file-submit” button to initiate the file upload process.
Step 4
The cy.get(“#uploaded-files”).contains(“nature_night.png”) verifies that the uploaded file is displayed on the page. It targets the element with the ID “uploaded-files” and checks if it contains the text “nature_night.png”.
Step 5
The cy.get(“h3”, { timeout: 30000 }).should(“have.text”,”File Uploaded!”) waits for an < h3 > element to appear on the page (with a maximum timeout of 30 seconds) and asserts that its text content is “File Uploaded!”.
This assertion ensures that the file upload operation was successful.

The maximum file size that can be uploaded using the cy.selectFile() command in Cypress depends on the underlying browser. We can give a timeout with a particular command to handle if a file takes a long time to upload.
Output
Get ready for your BDD interview with 100+ BDD interview questions. Boost your confidence and impress your interviewer with this comprehensive guide covering principles & techniques
Uploading an array of files using the selectFile()
The command first selects the file input element using the cy.get() method with the input[type=file] selector.
Then, the selectFile() method is called on the selected element with the argument [imag1.png’, ‘image2.png’]. This will simulate selecting multiple files in the file selection dialog that appears when a user clicks on the file input field.
Demo — Uploading an array of files using the selectFile()
Test Scenario
Visit the site: https://postimages.org/.
Upload multiple .png files with the drag-drop option.
After upload, verify the text “Upload completed”.
After uploading, verify the title of all uploaded images.
Implementation
For demo purposes, I am taking the example from the site:
https://postimages.org/
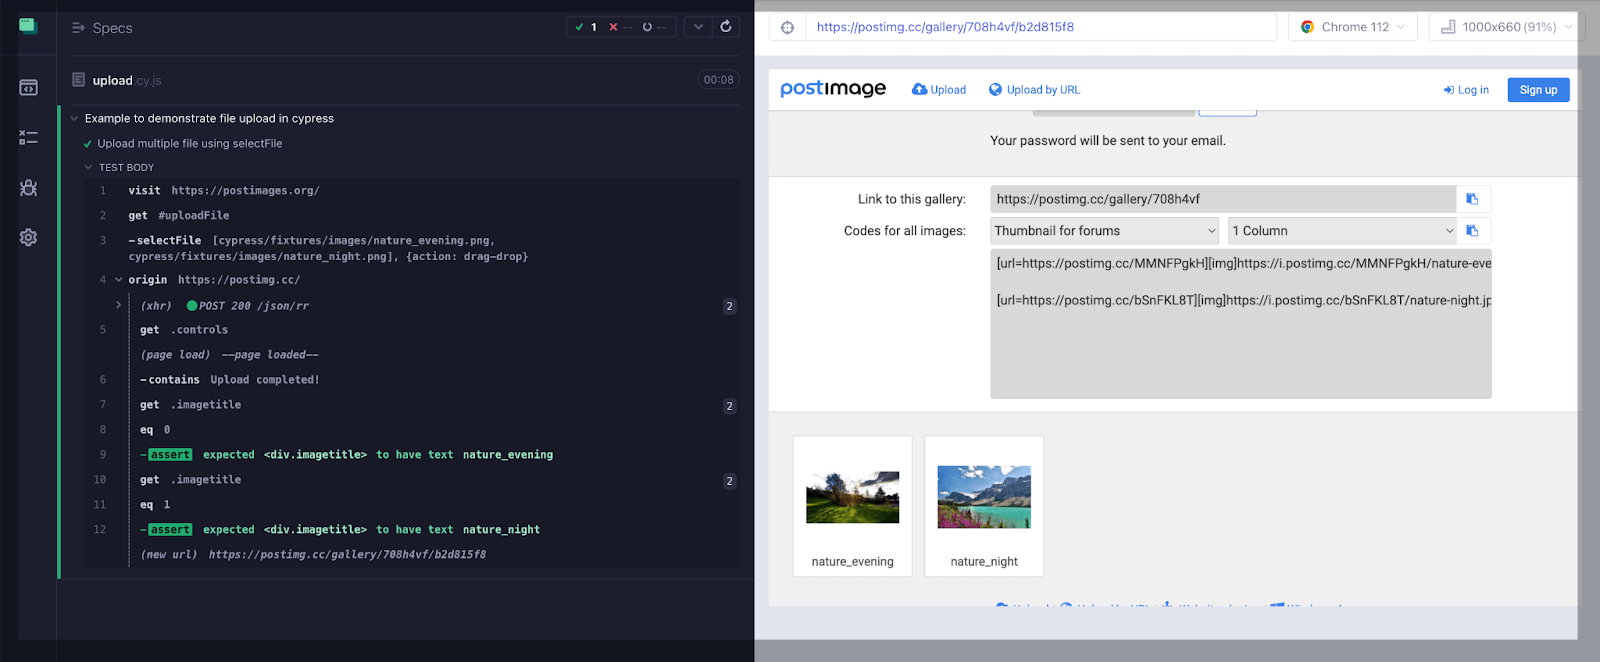
it("Upload multiple file using selectFile", () => {
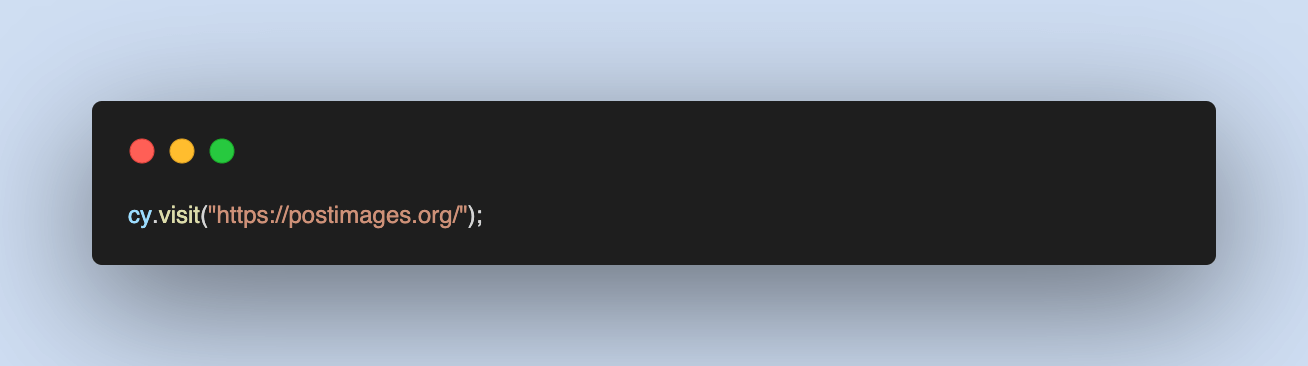
cy.visit("https://postimages.org/");
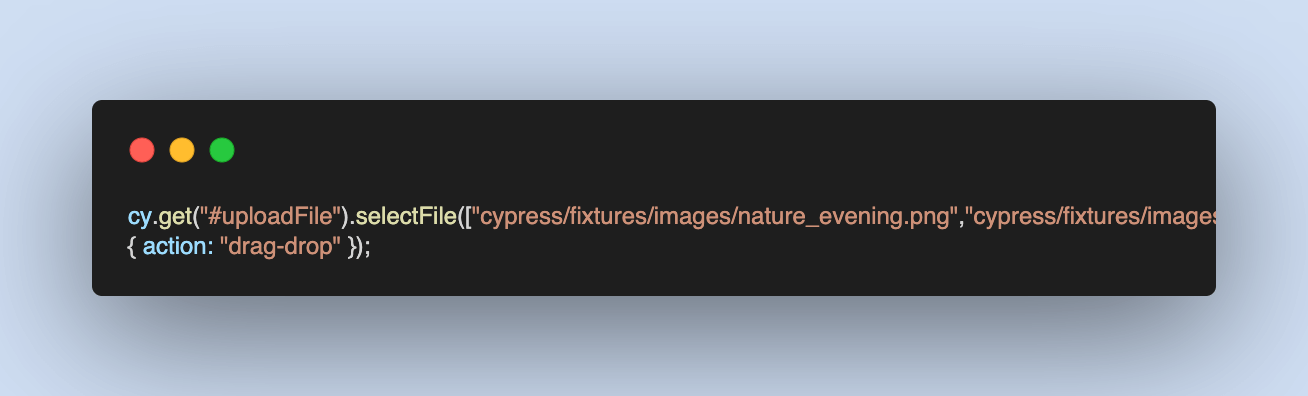
cy.get("#uploadFile").selectFile(["cypress/fixtures/images/nature_evening.png","cypress/fixtures/images/nature_night.png"],{ action: "drag-drop" });
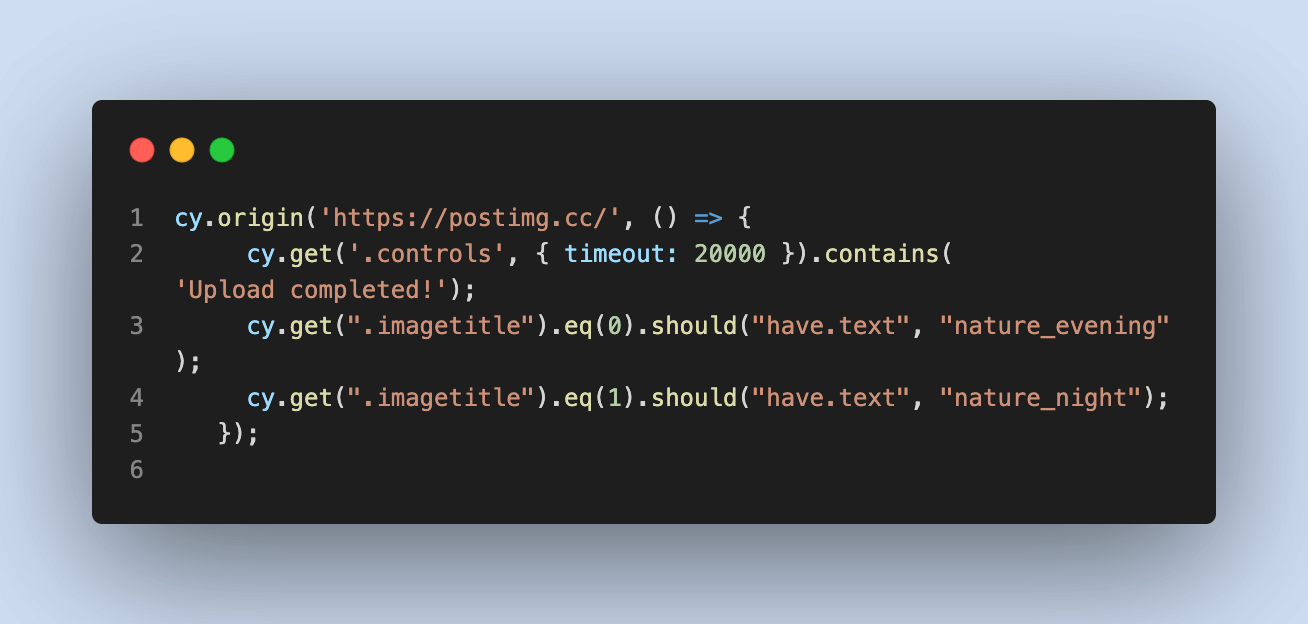
cy.origin('https://postimg.cc/', () => {
cy.get('.controls', { timeout: 20000 }).contains('Upload completed!');
cy.get(".imagetitle").eq(0).should("have.text", "nature_evening");
cy.get(".imagetitle").eq(1).should("have.text", "nature_night");
});
})
The test visits the PostImages website, selects two image files using the “selectFile” method, and then asserts that the files were uploaded successfully by checking for the presence of the file names in the UI.
The test also uses the “origin” command to ensure that the assertions are performed on the correct domain and sets a timeout of 20 seconds for the “controls” element to appear.
cy.get(“#uploadFile”).

cy.get(“.imagetitle”).

cy.get(‘.controls’)

Code Walkthrough
Step 1
It visits the “https://postimages.org/” website.
Step 2
It selects the file inputs with the ID “uploadFile”.
Step 3
Below command is used to navigate to a URL starting with “https://postimg.cc /” using the cy.origin() command.
Step 4
After uploading the image successfully, you can verify the message “File Uploaded!”
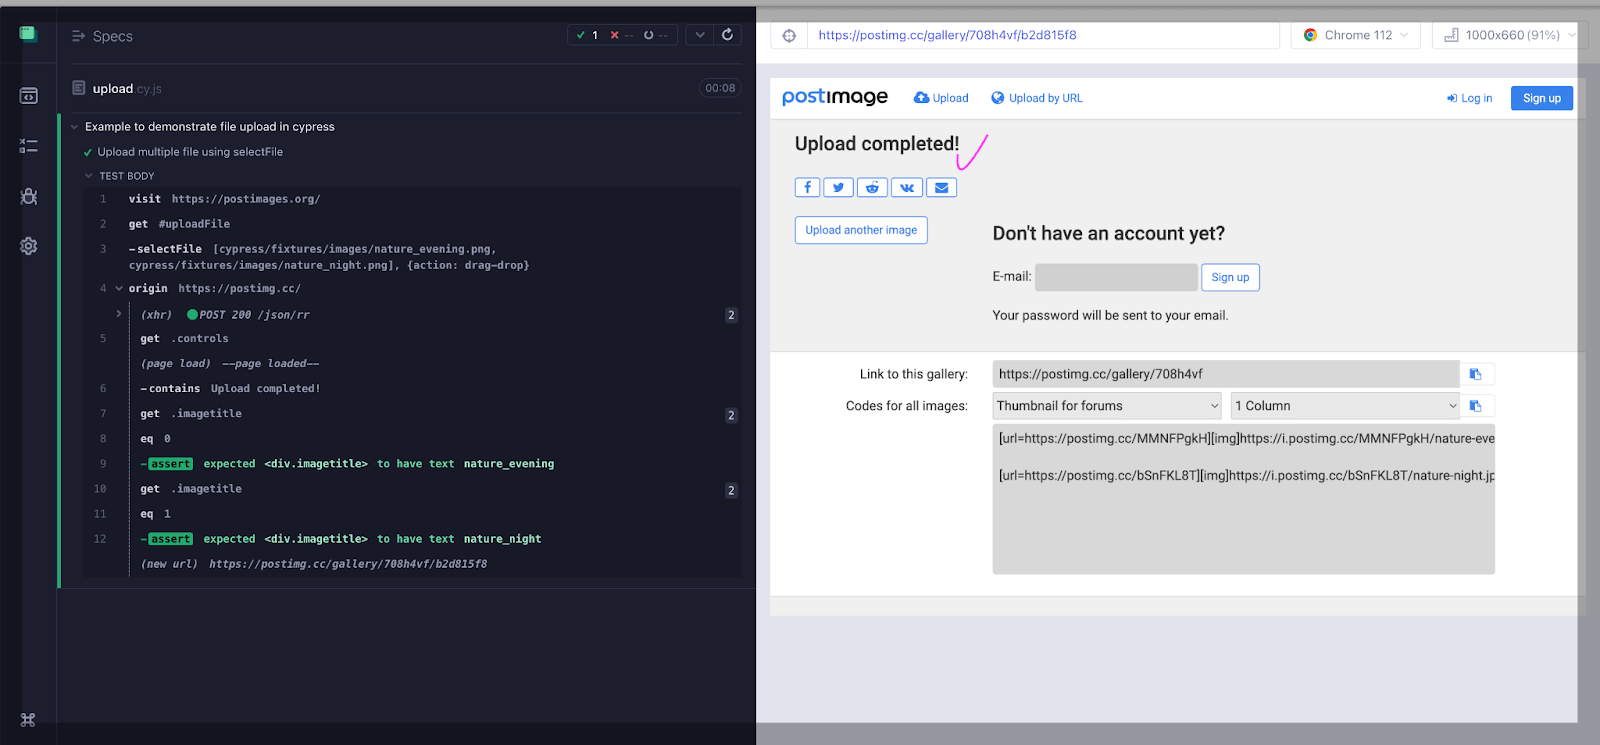
Output
In the output, you can see images are uploaded successfully, and the message “File Uploaded!” is verified.
Ace your Protractor interview with these 50+ Protractor interview questions. Boost you confidence and land your dream job with this comprehensive guide.
Using Cypress for file upload with the cypress-file-upload plugin
Another way to upload the file is using the plugin cypress-file-upload. It is a third-party plugin for the Cypress testing framework that allows you to simulate file uploads in your Cypress tests.
With cypress-file-upload, you can simulate file uploads using the attachFile() command, which can take various options such as file content, file name, and MIME type. This makes it easy to test different file types and sizes and to ensure that your file upload functionality is working as expected.
Some of the key features of the cypress-file-upload plugin include:
Support for multiple file selection and upload
Automatic handling of file input visibility and focus
Support for drag-and-drop file upload
Customizable upload options, such as file name and MIME type
Integration with other Cypress plugins and framework
Let’s first install the cypress-file-upload plugin.
Step 1
Run the below command:
npm install — save-dev cypress-file-upload

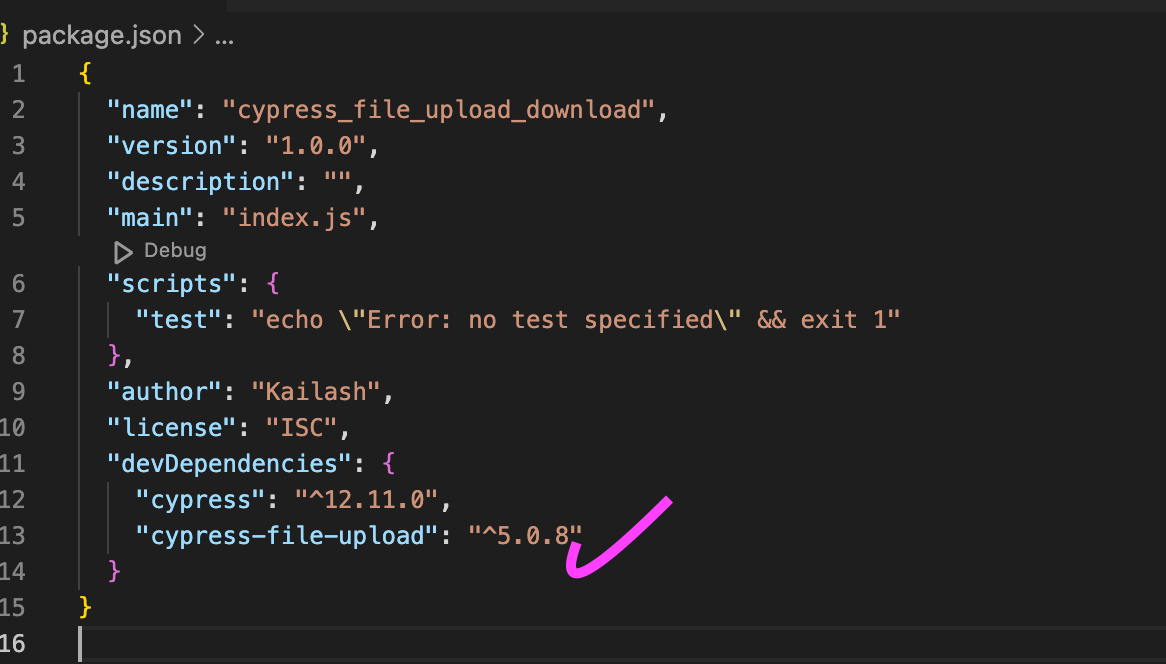
The package will be visible once the above command has been properly executed. The cypress-file-upload plugin has updated JSON.
Step 2
Update commands.js with the below line under cypress > support > commands.js.
import ‘cypress-file-upload’;
Demo — Uploading files using the cypress-file-upload plugin
Test Scenario
Visit the site: https://the-internet.herokuapp.com/upload.
Provide the path of the .png file you want to upload.
Then attach the file to the input element using the method attachFile().
After uploading, verify the title of the uploaded image.
Let’s take an example with the site https://the-internet.herokuapp.com/upload to upload the file using the plugin.
it('File Upload using cypress-file-upload npm package', () => {
cy.visit('https://the-internet.herokuapp.com/upload')
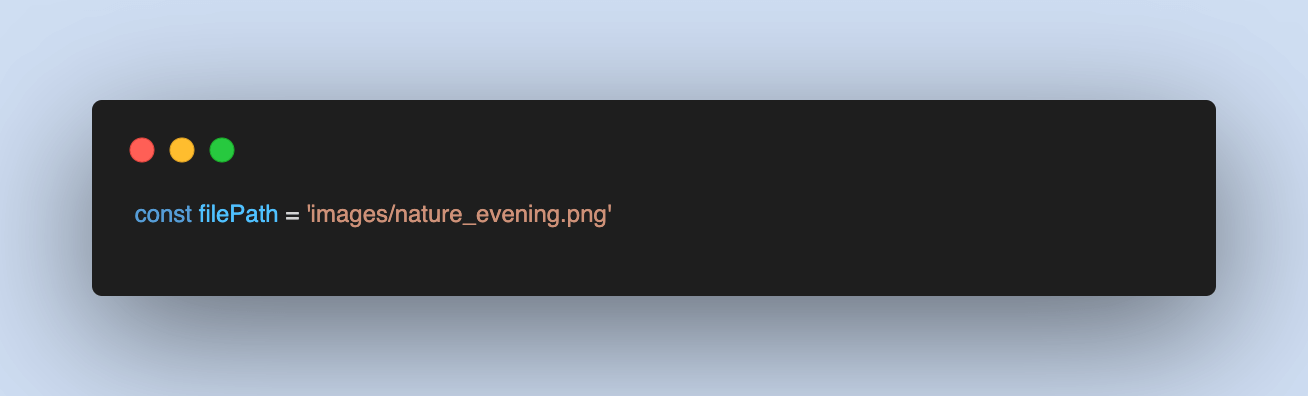
const filePath = 'images/nature_evening.png'
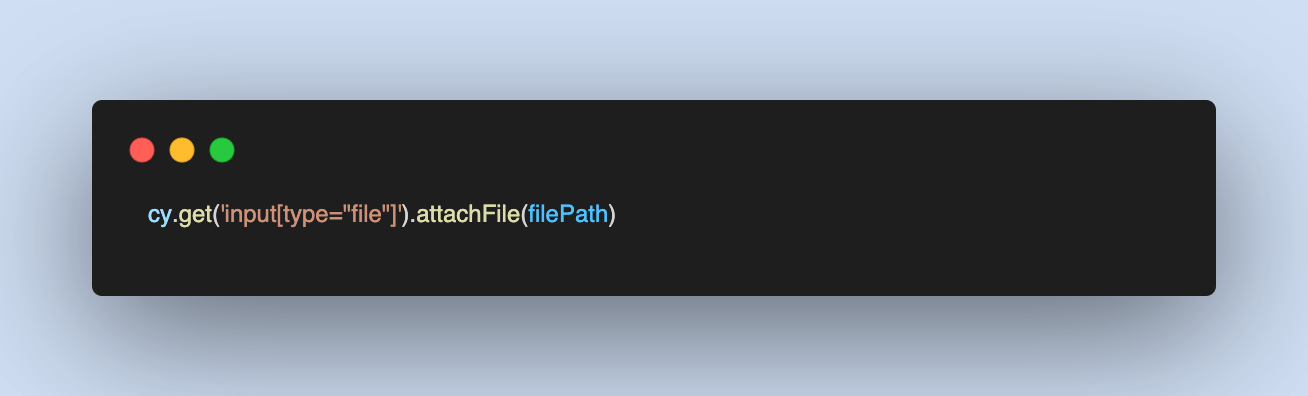
cy.get('input[type="file"]').attachFile(filePath)
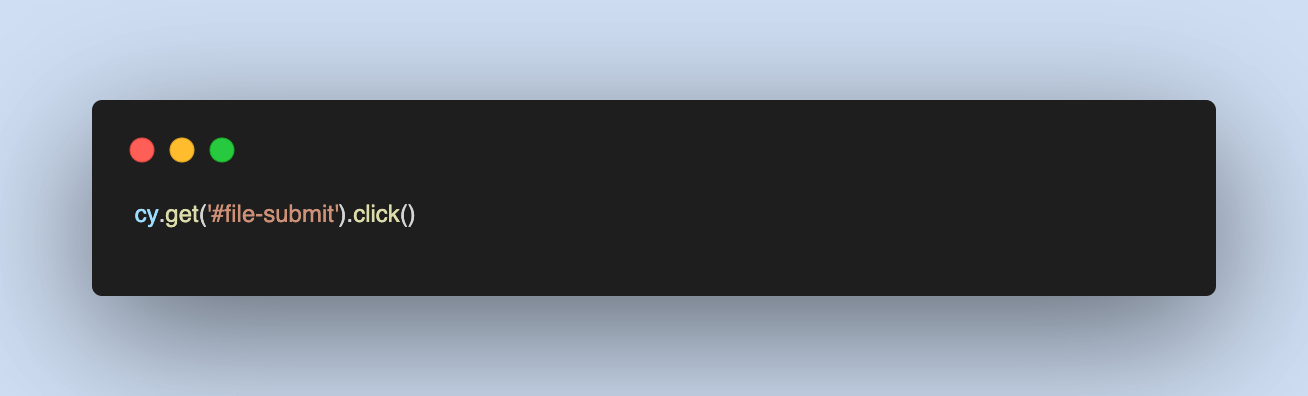
cy.get('#file-submit').click()
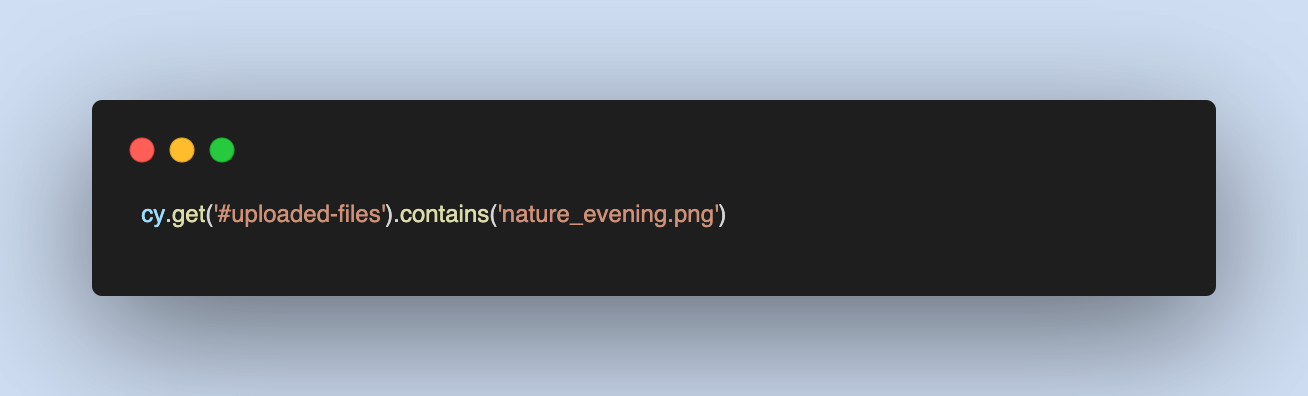
cy.get('#uploaded-files').contains('nature_evening.png')
})
Code Walkthrough
This is a Cypress test that automates file upload functionality using the cypress-file-upload npm package. Here’s what the test does:
Step 1
Visit the upload page of the “the-internet.herokuapp.com” website.

Step 2
It defines a filePath variable that contains the path of the file to be uploaded.
Step 3
This command attaches the file to it using the attachFile() command provided by cypress-file-upload.
Step 4
It clicks on the “Upload” button using cy.get(‘#file-submit’).click().
Step 5
It verifies that the file has been uploaded successfully by checking if the file name is displayed on the page, using cy.get(‘#uploaded-files’).contains(‘nature_evening.png’).
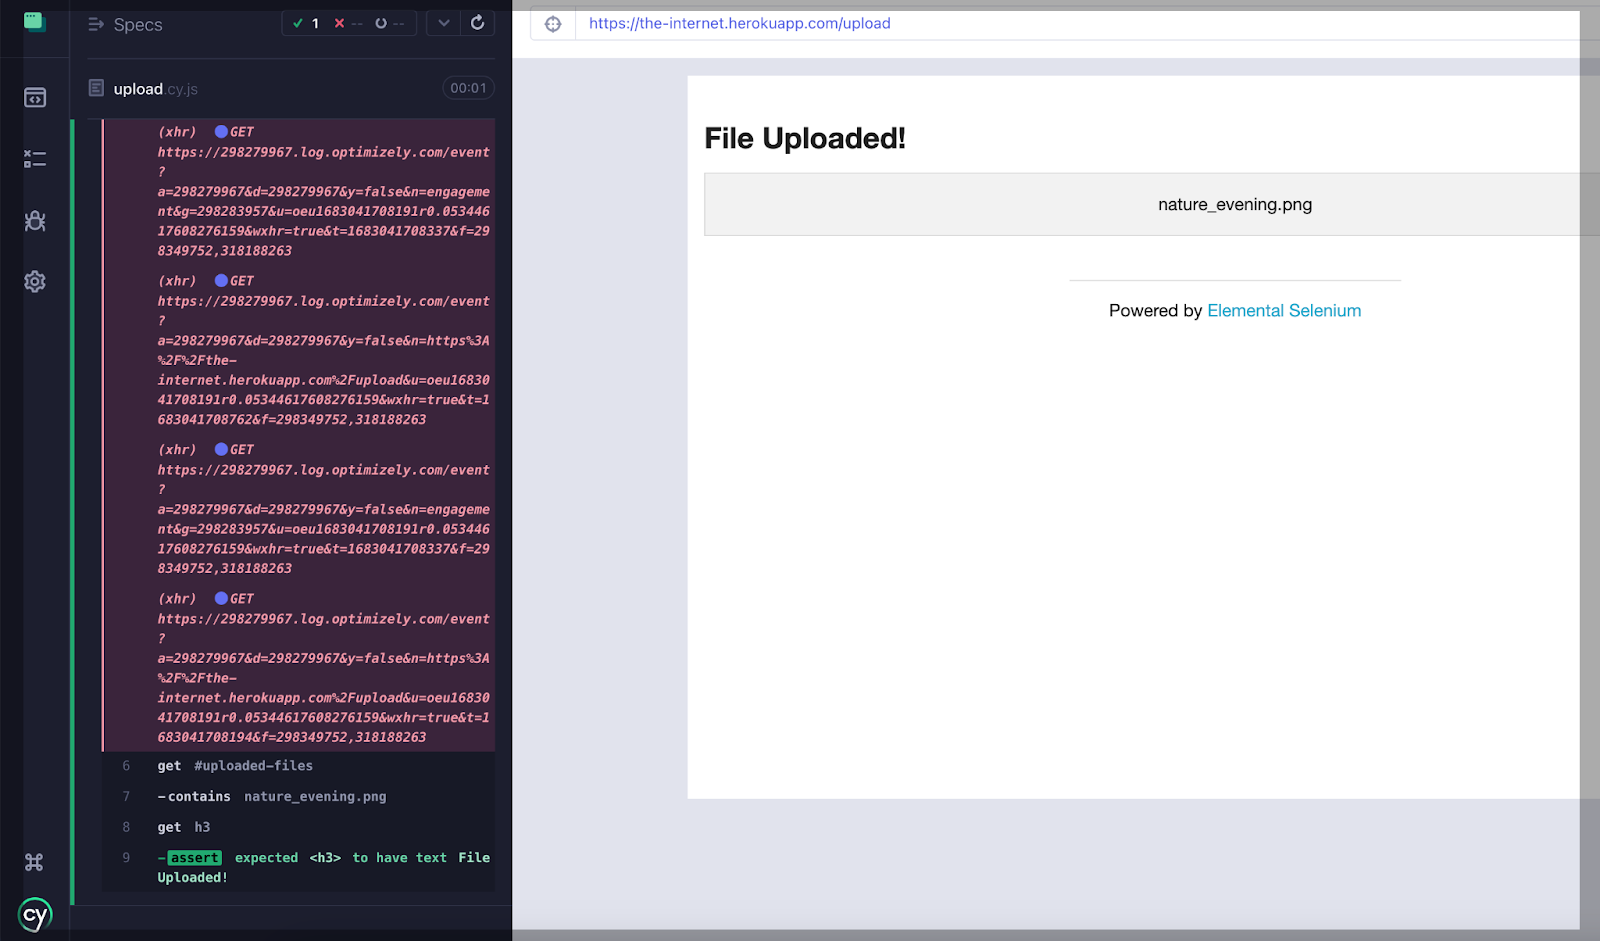
Output
How to use Cypress for file download?
Cypress does not natively support file downloads. This means you cannot use Cypress commands to download a file from your web application.
You can use Cypress for file download using the below methods:
Using Cypress for file download with the readFile().
Using Cypress for file download with the cypress-downloadfile plugin.
Wait and verify for the file to be downloaded using cy-verify-downloads plugin.
Using Cypress for file download with the readFile()
We can use readFile() to verify the content in the file, which already downloads under the folder, e.g.,/cypress/downloads/.
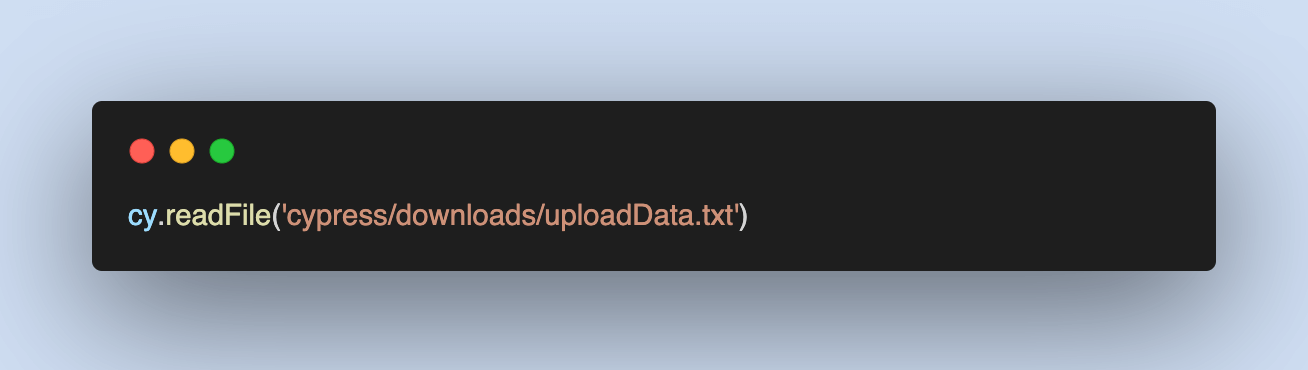
Syntax
cy.readFile(‘cypress/downloads/uploadData.txt’)
Below is the example to read the downloaded file from the particular path.
it("Upload the file using .selectFile with select mode", () => {
   cy.readFile('cypress/downloads/uploadData.txt').should('contain', 'download file functionality in cypress')
 });
Code Walkthrough
Using the cy.readFile() command read the contents of a file called uploadData.txt located in the cypress/downloads directory.
Output (Pass Scenario)
When the string ‘download file functionality in cypress’ matches, the test case is passed.

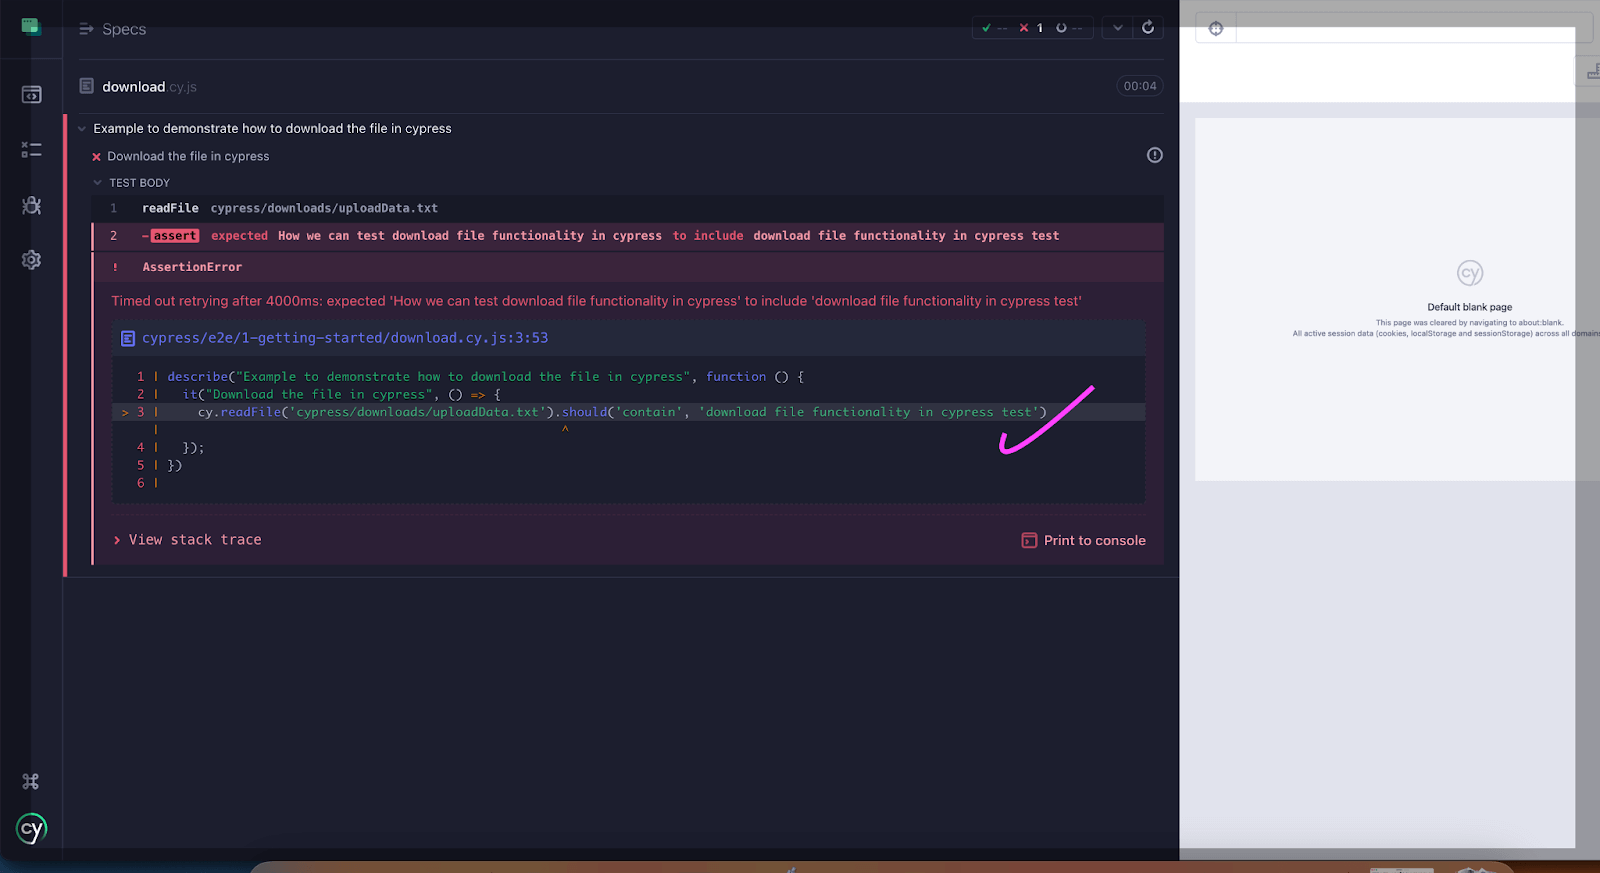
Output (Fail Scenario)
When the expected string does not match, the test case fails. For example, do a minor tweak to the string ‘download file functionality in cypress test’.
it("Download the file in cypress", () => {
   cy.readFile('cypress/downloads/uploadData.txt').should('contain', 'download file functionality in cypress test')
 });
Using Cypress for file download using the cypress-downloadfile plugin
This plugin allows you to simulate file downloads in your Cypress tests and verify the downloaded files. Using the cypress-downloadfile plugin, you can automate and validate file download functionality in your Cypress tests, ensuring that the expected files are being downloaded correctly. It provides a convenient way to handle file downloads and perform necessary assertions and validations.
Let’s install the plugin cypress-downloadfile.
Step 1
Run the below command to download the plugin.
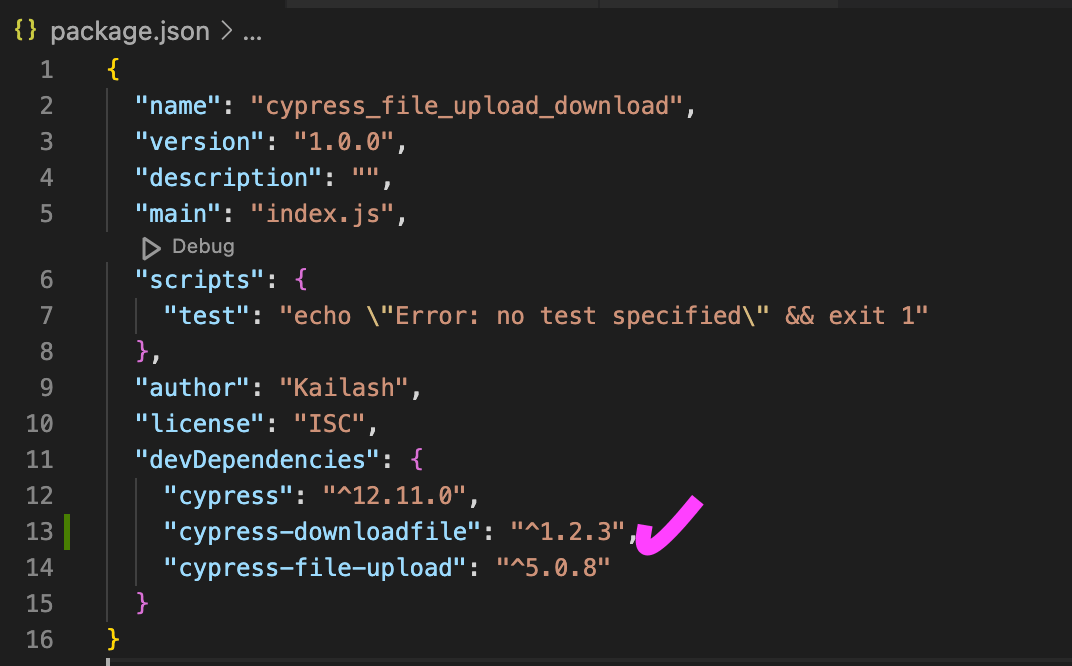
npm i — save-dev cypress-downloadfile

In package.json, we can see the package cypress-downloadfile is installed.
Step 2
Add the following code under the file cypress/support/commands.js.
require(‘cypress-downloadfile/lib/downloadFileCommand’)
Step 3
Add the following code under the file cypress.config.js.
const { defineConfig } = require("cypress");
const {downloadFile} = require('cypress-downloadfile/lib/addPlugin');


module.exports = defineConfig({
 e2e: {
   setupNodeEvents(on, config) {
     on('task', {downloadFile});
     // implement node event listeners here
   },
 },
});
Demo — Downloading files using the cypress-downloadfile plugin
Test Scenario
Download the file using the downloadFile() method: https://www.learningcontainer.com/wp-content/uploads/2020/04/sample-text-file.txt
After downloading, verify the text ‘Lorem ipsum dolor sit amet’ in the downloaded file.
Implementation
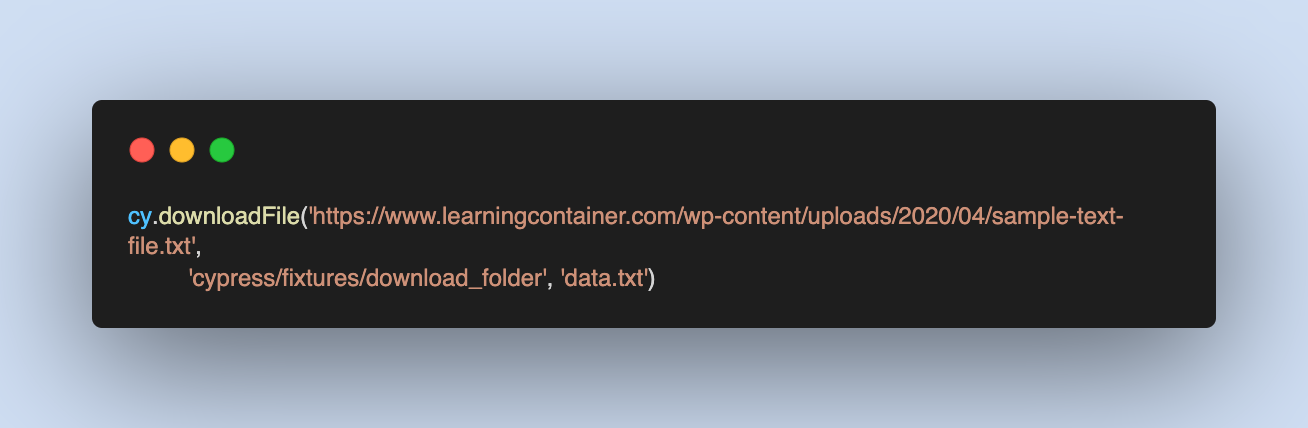
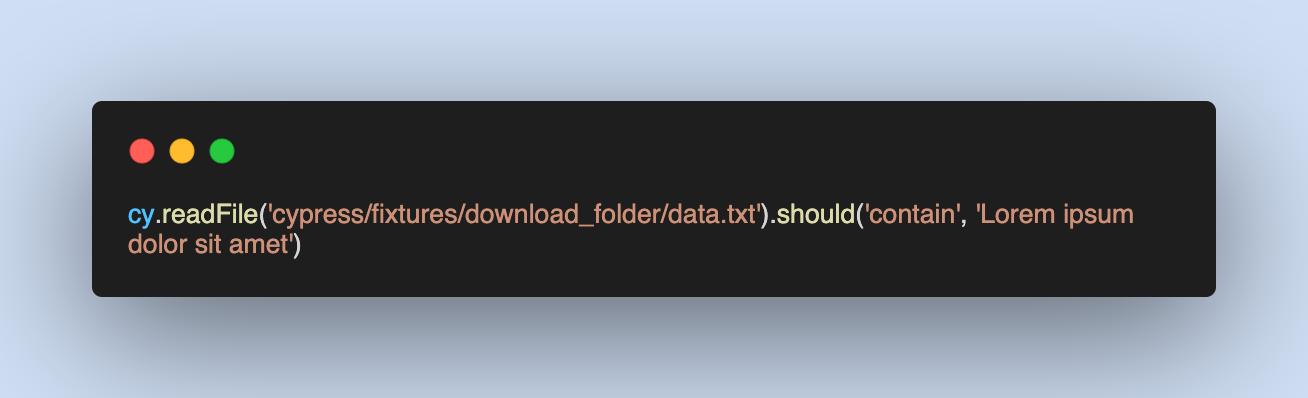
it('File Download using cypress-downloadfile npm package', () => {
     cy.downloadFile('https://www.learningcontainer.com/wp-content/uploads/2020/04/sample-text-file.txt',
         'cypress/fixtures/download_folder', 'data.txt')
     cy.readFile('cypress/fixtures/download_folder/data.txt').should('contain', 'Lorem ipsum dolor sit amet')
 })
Here’s Top 30 Robot Framework Interview Questions and Answers that will help you boost your confidence in an Interview.
Code Walkthrough
Step 1
The cy.downloadFile is used to download a file from the URL learningcontainer.com/wp-content/uploads/20... The file is saved to the directory cypress/fixtures/download_folder with the name data.txt.
Step 2
The cy.readFile is used to read the contents of the downloaded file at cypress/fixtures/download_folder/data.txt.
Step 3
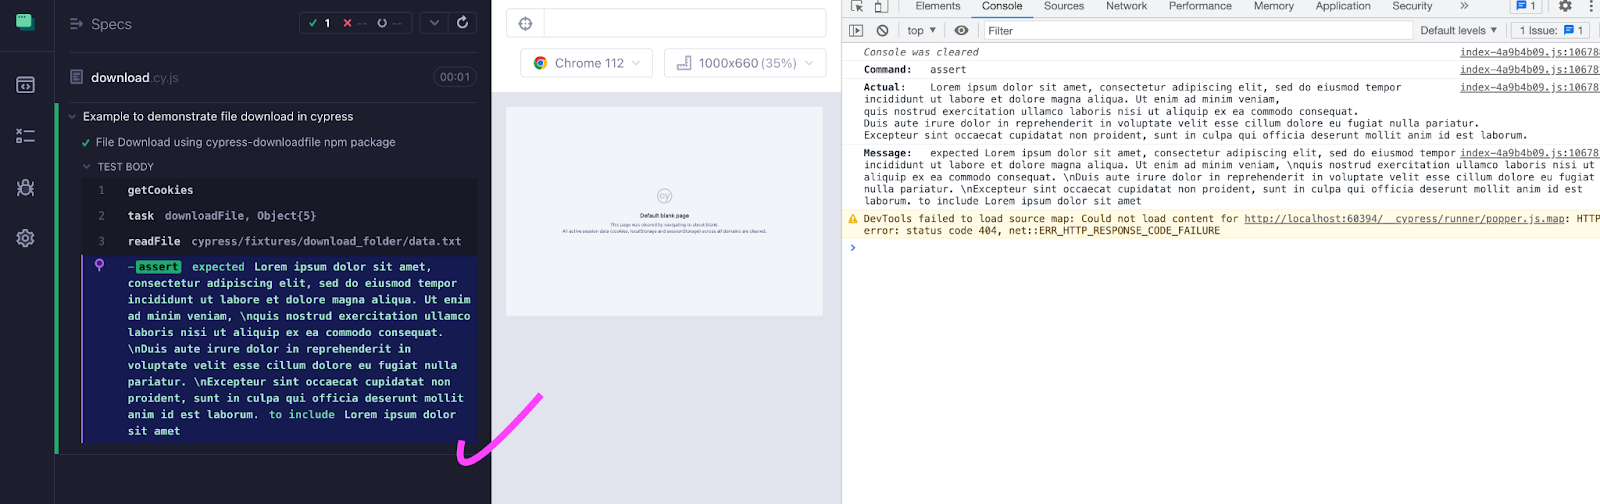
Finally, the .should() assertion method in Cypress is used to verify that the contents of the file contain the string ‘Lorem ipsum dolor sit amet’.
Output
You can also use Cypress for file upload and download on a cloud-based testing platform. This helps you improve the reliability and robustness of your Cypress tests and ensure your web applications work correctly on a multitude of browsers and platforms. For this, you can leverage a digital experience testing platform like LambdaTest that offers a scalable Cypress cloud to perform Cypress UI automation across 50+ real browsers and operating systems.
Subscribe to the LambdaTest YouTube Channel to get the latest updates on tutorials around Selenium testing, Cypress e2e testing, Appium, and more.
You can even accelerate your software release cycles by performing Cypress parallel testing on multiple browsers and platforms simultaneously.
Note: Here is our support documentation to help you get started with Cypress testing.
Are you prepared to enhance your proficiency in Cypress automation? Enroll in our exclusive Cypress 101 certification program designed specifically for developers and testers aiming to broaden their expertise in Cypress test automation. Acquire advanced knowledge, refine your skills, and unlock a realm of new possibilities on your test automation path.
Conclusion
Downloading and uploading files are commonly used features in many applications. Automating these tasks using the Cypress automation tool can improve the reliability and robustness of your tests. By automating these features, you can simulate user interactions and validate the expected behavior of these functionalities.
By incorporating these automated tests into Cypress for file upload and download, you can catch potential issues and ensure that the download and upload functionalities of your application are working as intended. It provides an additional layer of confidence in the functionality and stability of your application.
Frequently Asked Questions (FAQs)
How to upload an xlsx file in Cypress?
To upload an XLSX file using Cypress, you can follow these steps:
Prepare the XLSX file
Write the Test Script
Run the Test
Ensure that the XLSX file is placed in the cypress/fixtures folder or adjust the path accordingly in the test script. Also, note that the mimeType provided in the attachFile command corresponds to the XLSX file format.
That’s it! You can now upload XLSX files using Cypress and perform necessary assertions or validations as needed.